Here we are at Day 2 of the B6169 moto jacket sew-along. If you’re just joining us, you can find Day 1 and all the introductory materials right here.
Today we’ll be tackling the pockets and assembling the front and back of the jacket.
Pocket and Side Front
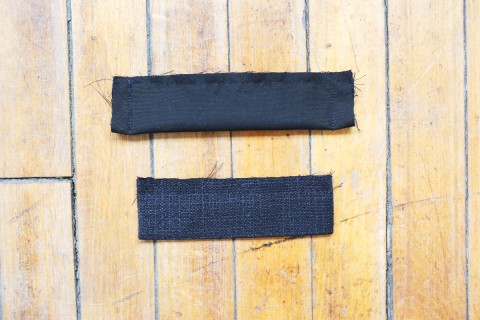
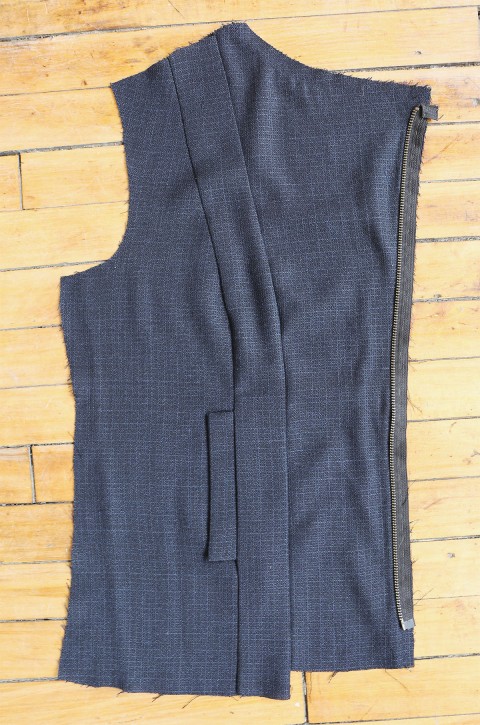
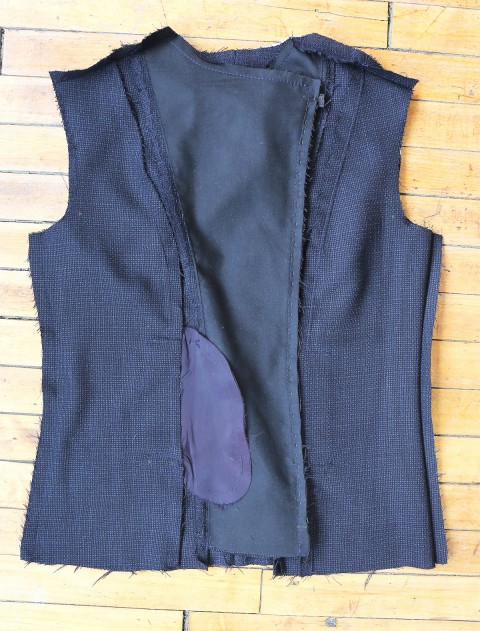
8. With right sides together, fold WELT (3) along foldline. Stitch across ends. Trim seam allowances. (See the next step for the photo on this step.)
9. Turn right side out. Press. Baste raw edges together. (This is easy, right?)
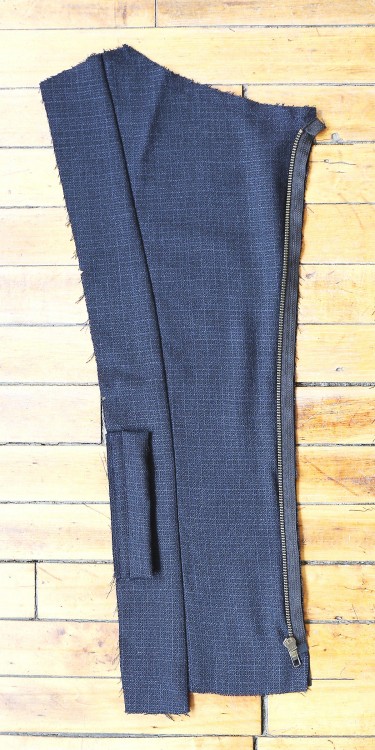
10. Pin welt to middle front, matching lower notches and squares. Baste. Stitch. (Stitch this with your usual 5/8″ seam.)
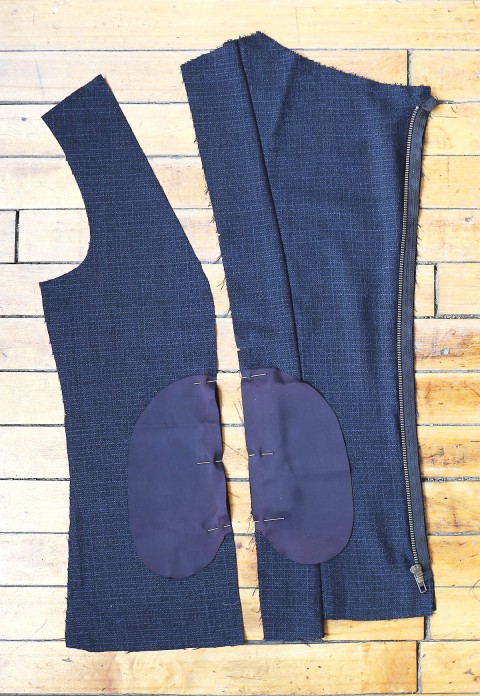
11. Stitch one POCKET (4) section to each middle front (over welt) and SIDE FRONT (5) section at each side front, taking up a 3/8” (1cm) seam allowance. Press seam allowances toward pockets. (The 3/8″ seam will help to keep the pockets welt inside the seamlines of the jacket and prevent them from showing on the finished jacket.)
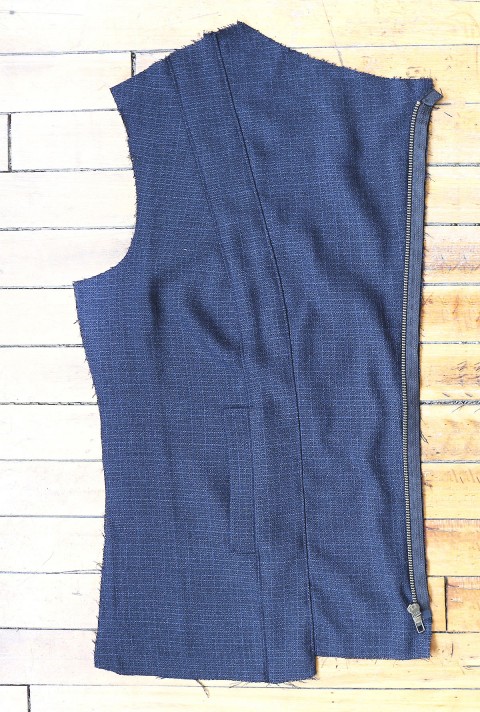
12. Pin middle front to side front. Stitch, leaving free between squares, clipping middle front where necessary. Stitch pocket edges together to side seams. (Again, there are opposing seams, so you’ll need to clip the seam allowances of the shorter curve. Once you’ve got everything pinned you can stitch the seam, pivoting at the squares to stitch around the pocket bag and then pivoting again at the second square to stitch the remaining seam.)
13. Turn pockets and seam allowances toward middle front along seamlines. Press.
14. Turn welts toward side front (not middle front as stated in the instructions), matching small circles. EDGESTITCH ends of welt in place, through all thicknesses.
(At this point, I edgestitched all my seams because my fabric is drapey and doesn’t hold a crease well. If you choose to edgestitch your seams as well, be sure to push the pocket bags out of the way before stitching each seam so you don’t accidentally stitch the pockets closed!)
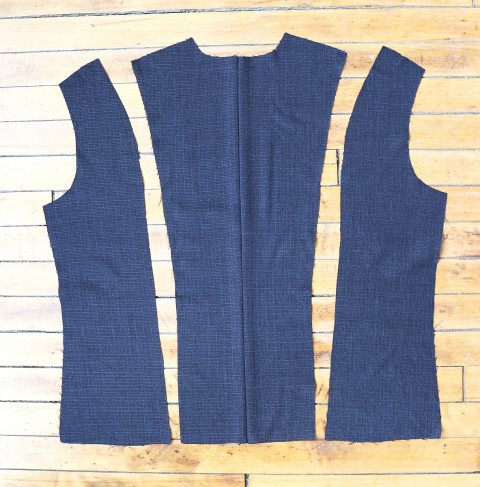
Back
15. STAYSTITCH side back edges of BACK (6) above waist.
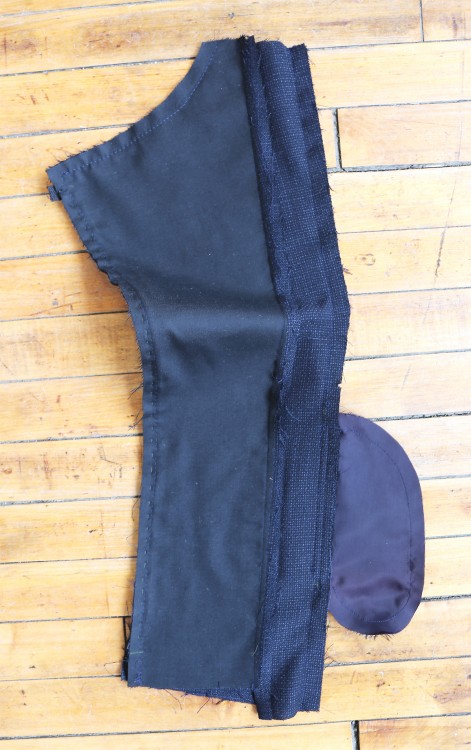
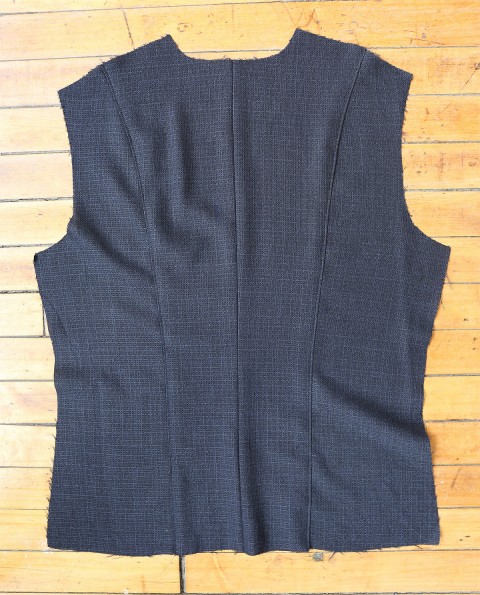
16. Pin SIDE BACK (7) to back at side back edges, clipping back where necessary. Stitch. Stitch center back seam.
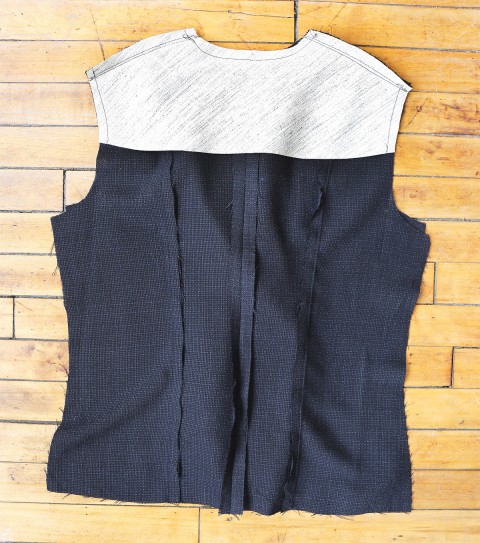
(This is your opportunity to edgestitch the back seams if you choose to do so. Also, you’ll notice in the second photo below that I stopped at this point and used my assembled jacket back to cut a piece of lightweight wool/hair canvas interfacing on bias. I did this to give a little more structure to my very drapey fabric and to help the jacket keep its shape. If you’d like to try this you don’t need hair canvas for this step; cotton canvas or sew-in interfacing would be fine as well. (Hair canvas is a traditional tailoring material also know as Hymo which can be found at specialty shops. I get mine at Steinlauf and Stoller here in NYC.) Once you’ve cut the shape of the back jacket, you’ll simply baste it to the wrong side of the jacket within the seam allowances, taking care to smooth the two layers in the process. But this isn’t absolutely necessary, so feel free to skip this step!)
17. Stitch back to front at shoulders and sides.
And that’s it for Day 2! Our jackets are progressing nicely, aren’t they? Tomorrow we’ll add the sleeves and the shoulder pads as well as a few other optional details that can be nice to add but aren’t strictly necessary.
Continue on to Day 3 of the sew-along.



1 Comment:
I just found out about your sew along and looking at the pictures and instruction I think this is the best thing ever! I work so well with pictures instead of just worded instructions. I cannot wait to try!!